

Photo by Aleksandra Boguslawska on Unsplash
Deploy Docker images on Fly.io free tier
Three different ways to deploy Docker images


In this article… Heroku drops the free tier, why Fly.io is a better platform, and the different ways to deploy your Dockerized applications on Fly.io.
Heroku announced in August that the free tier of its application hosting and data services would end, and the company would focus only on (paying) mission-critical applications. Student, non-profit, and open-source programs should still be available (maybe newly redesigned), but the era of free hosting for prototypes and new startup ideas is over.
This is a bit of a bummer ☹️: just to be clear, I am a Heroku paying customer for some of my projects that reached a bit of interest (or at least I considered worth investing in). I found that model great: as a developer I start developing and deploying at no cost to test my ideas, create beta projects, and learn through building. If and when I need something more (for example prevent the Dyno sleep (*) after 30 min inactivity) I go with “pay-as-you-go”: at that point, my app is already available, tested and fully working, therefore I am confident that this cost is a good investment.
This is now over.
(\) Heroku web Dynos go on stand-by after 30 minutes without incoming HTTP requests. When a new request arrives the Dyno restarts).*

Image by author
Making hosting free and simple: Fly.io
Fly.io is a free hosting platform founded in 2017 (initially to support the Javascript runtime) that has quickly become the new (better) Heroku.
There is support for many frameworks, a free tier (based on shared CPUs) and a top-notch developer experience.
Start with the frameworks: the list of supported languages is exhaustive with guides and examples for each one, but what makes it awesome (and what this article will focus on) is the Docker support.
Next the free tier: Fly.io gives you enough resources to run simple applications, eventually with the option to pay and scale up on demand. The free-tier already comes with a log viewer, metrics, the option to create SSL certificates for your custom domains, volumes to persist application state and private networking (apps can talk to each other — yes, privately).
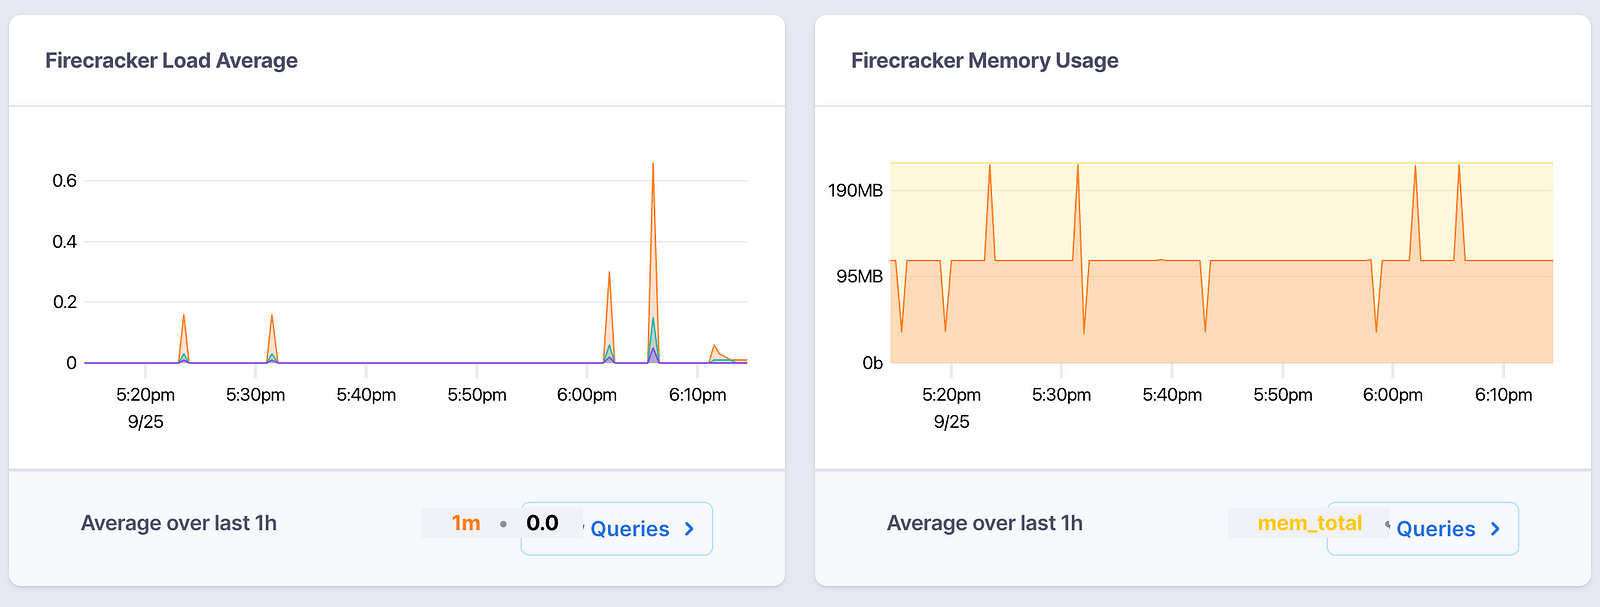
Application metrics on Fly — Screenshot by author
Now the developer experience. This is where Fly.io eclipses Heroku: concise documentation (straight to the point, no frills but enough details), a powerful CLI flyctl and an active community.
Unlike Heroku on Fly.io secrets (ie tokens and passwords) are treated differently (one-way encryption) from environment variables (set in the fly.toml descriptor) and the application's internal port can be declared statically (no need to bind a dynamic port assigned by the platform).
The application never sleeps (unlike Heroku free Dynos) so it will always be responsive (or at least ready to process incoming requests).
Docker on Fly.io
There are different ways to deploy Docker images on Fly.io:
use the Dockerfile builder
use an existing Docker image
push to Fly.io Docker Registry
Fly Docker Builder
The default mechanism is to let Fly build the Docker image: you only need a Dockerfile and make sure there is no builder (ie no [build] tag) defined in the fly.toml .
This is indeed a nice approach (to be fair Heroku offers the same) as we let Fly do the hard work and we are sure that the created image is compatible with the Fly runtime (more on this later).
# first time launch
fly launch
# (re)deploy existing app
fly deploy
# (re)deploy existing app with custom Dockerfile
fly deploy --dockerfile myDockerfile
The remote builder also makes trivial the integration with CI/CD pipelines, for example on GitHub Actions with the flyctl-actions .
name: Deploy on fly.io
on:
  workflow_dispatch
jobs:
  deploy:
    name: Deploy proxy
    runs-on: ubuntu-latest
    steps:
      # check out repository and flyctl deploy
      - uses: actions/checkout@v2
      - uses: superfly/flyctl-actions/setup-flyctl@master
      - run: flyctl deploy --app <my_app_name>
        env:
          FLY_API_TOKEN: ${{ secrets.FLY_API_TOKEN }}
Existing Docker image
Another way is to configure your Fly application to use an existing image: in the fly.toml file set the image location in the [build] section.
app = "myApp"
kill_signal = "SIGINT"
kill_timeout = 5
processes = []

[build]
  image = "repo/myImage:latest"

[env]
  VAR="myValue"
When calling flyctl deploy the build step is skipped and the specified image is retrieved.
When to use this
This might be convenient when the docker image is already created, maybe hardened and generated by a different team or pipeline.
The catch
Devs (like me!?) building the image on their Mac M1 need to carefully set the target platform. Fly, like Heroku and many others, require images running on AMD architecture, so the M1 ARM architecture will not work.
docker build --platform linux/amd64 -t repo/myApp:latest .
Note: Images can be fetched by DockerHub or GitHub packages, but currently there is no support for fetching from private Docker registries.
Push to Fly.io Docker Registry
The last option is to push the images directly into the Fly Docker Registry.
Authorise your account first
flyctl auth login
then tag an existing image (or build the image) and push
docker tag myImage registry.fly.io/myImage
docker push registry.fly.io/myImage
When to use this
This can be considered when the docker image is already available but we don’t want it to be stored in any Docker Registry (i.e. DockerHub) aside Fly.io.
Conclusions
In this blog post, we have looked at different ways to deploy Docker images on Fly.io. This flexibility, the free tier and a long list of features make it the new favourite hosting platform for developers who need a place to learn and try stuff out.
Go and play around if you didn't get the chance yet. Laterrrrr.